
Plans change. You can update a booking at any time. You can also mark it as cancelled, or move it to another trip.
Update A Booking
-
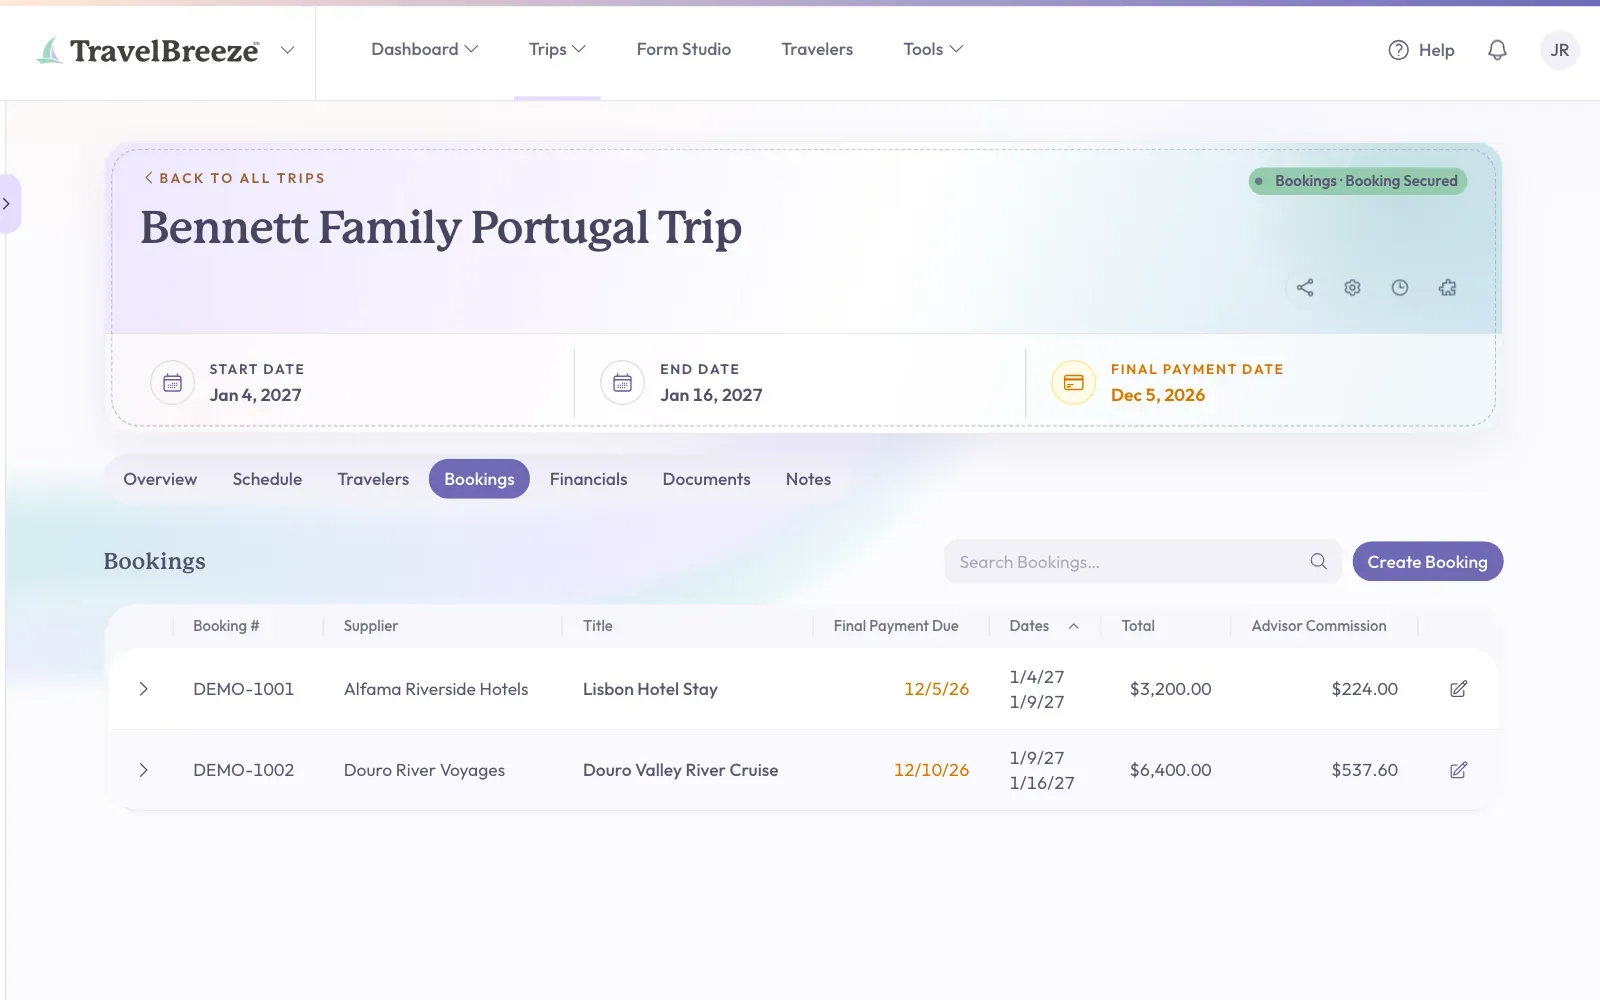
Open the trip. Click the Bookings tab under the trip name.
-
Find the booking in the list. Look at the far right of its row and click the pencil button. Its label is Update Booking.
-
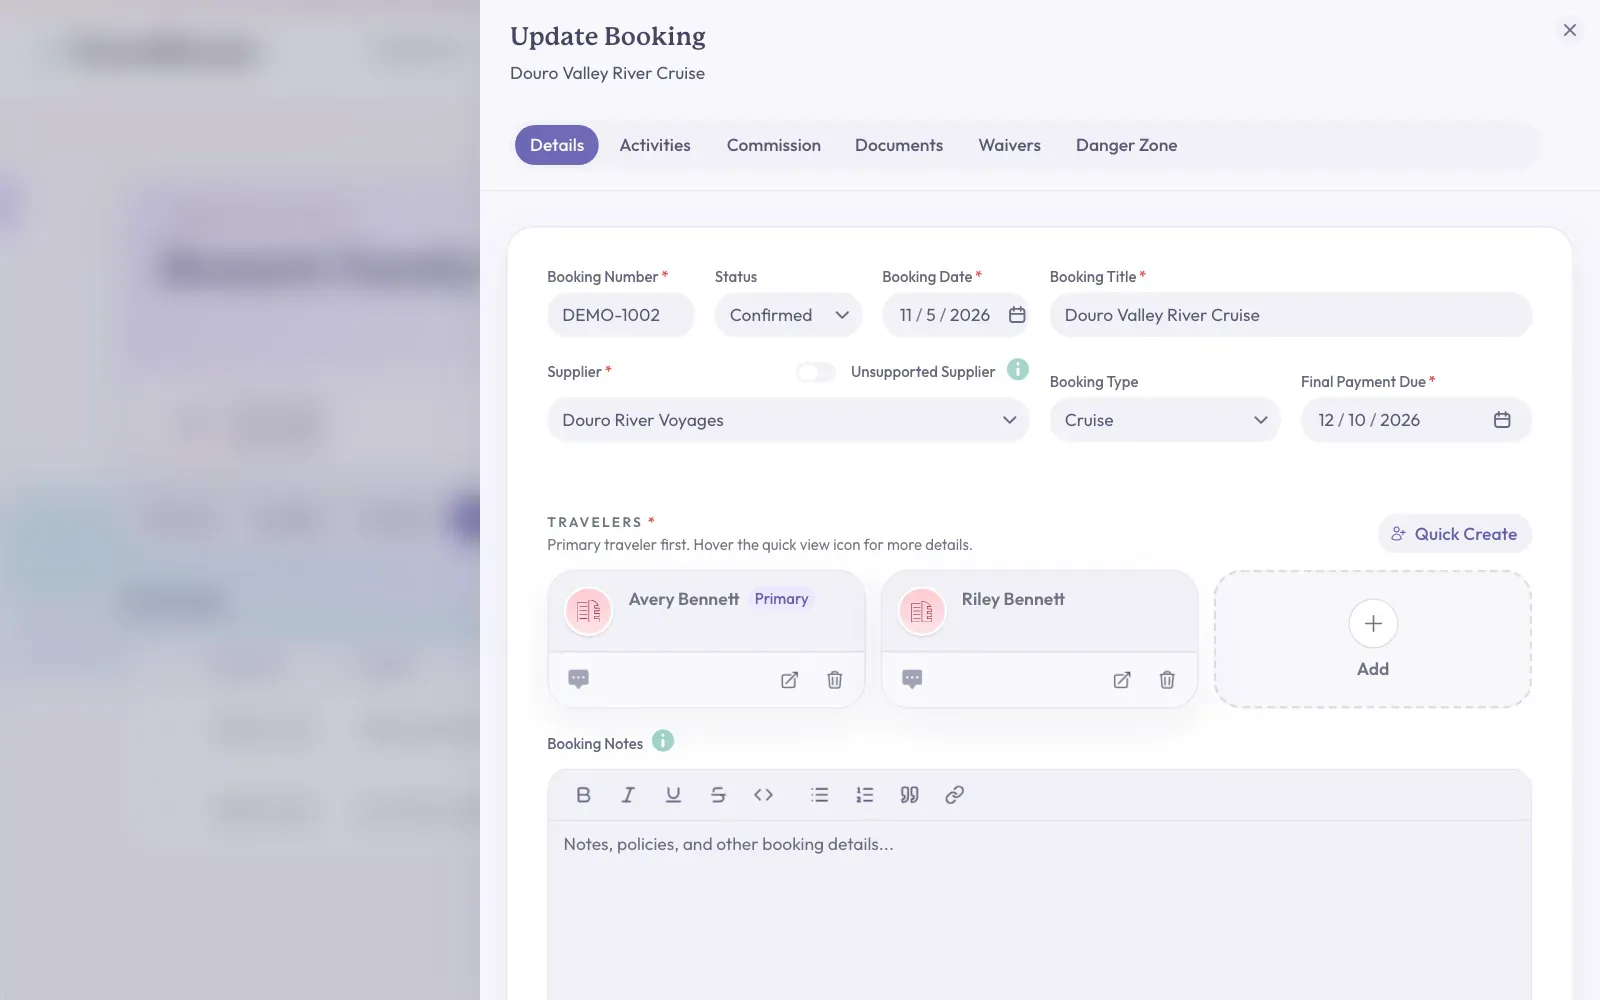
A panel called Update Booking opens. Across the top are the tabs Details, Activities, Commission, Documents, Waivers, and Danger Zone.
-
Click the tab you need and make your changes.
-
Click Save Changes at the bottom right of the panel.
The button shows a check mark and says Saved. You will see a short message that says "Booking saved", and the panel closes.
Good to know: Want a quick look without changing anything? Click anywhere on the booking's row in the list. It opens to show a summary. Click the row again to close it.
Good to know: To upload another file for this booking, use the Documents tab. Files you upload there save right away.
Stuck? If you see a red message, a required box is empty. Fill it in and click Save Changes again.
Take A Traveler Off A Booking
-
Open Update Booking on the Details tab.
-
Scroll down to Travelers.
-
Find the person's card and click the trash can button on it.
-
Click Save Changes at the bottom right of the panel.
Cancel A Booking
Cancelling keeps the booking on record, but takes it off the trip's schedule. This is usually what you want when a client cancels.
-
Open Update Booking on the Details tab.
-
Click the Status box and choose Cancelled.
-
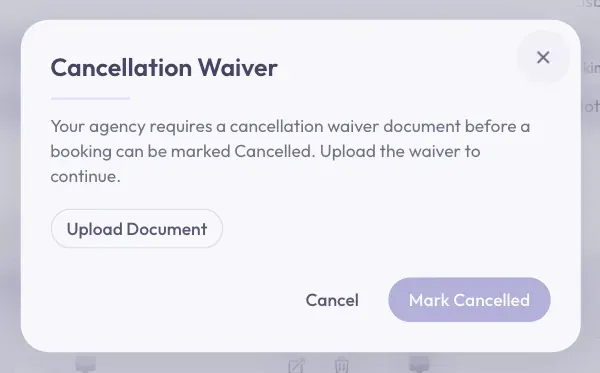
A window called Cancellation Waiver opens. A waiver is the paper showing the client agreed to cancel. Click Upload Document.
-
Choose your file, check the details, and click Attach Waiver.
-
Click Mark Cancelled.
-
Click Save Changes at the bottom right of the panel.
The status now says Cancelled.
Good to know: Your agency may require the waiver before you can cancel. If it does not, you will see a Skip button, so you can do this later.
Careful: The booking is not cancelled until you click Save Changes.
Move A Booking To A Different Trip
-
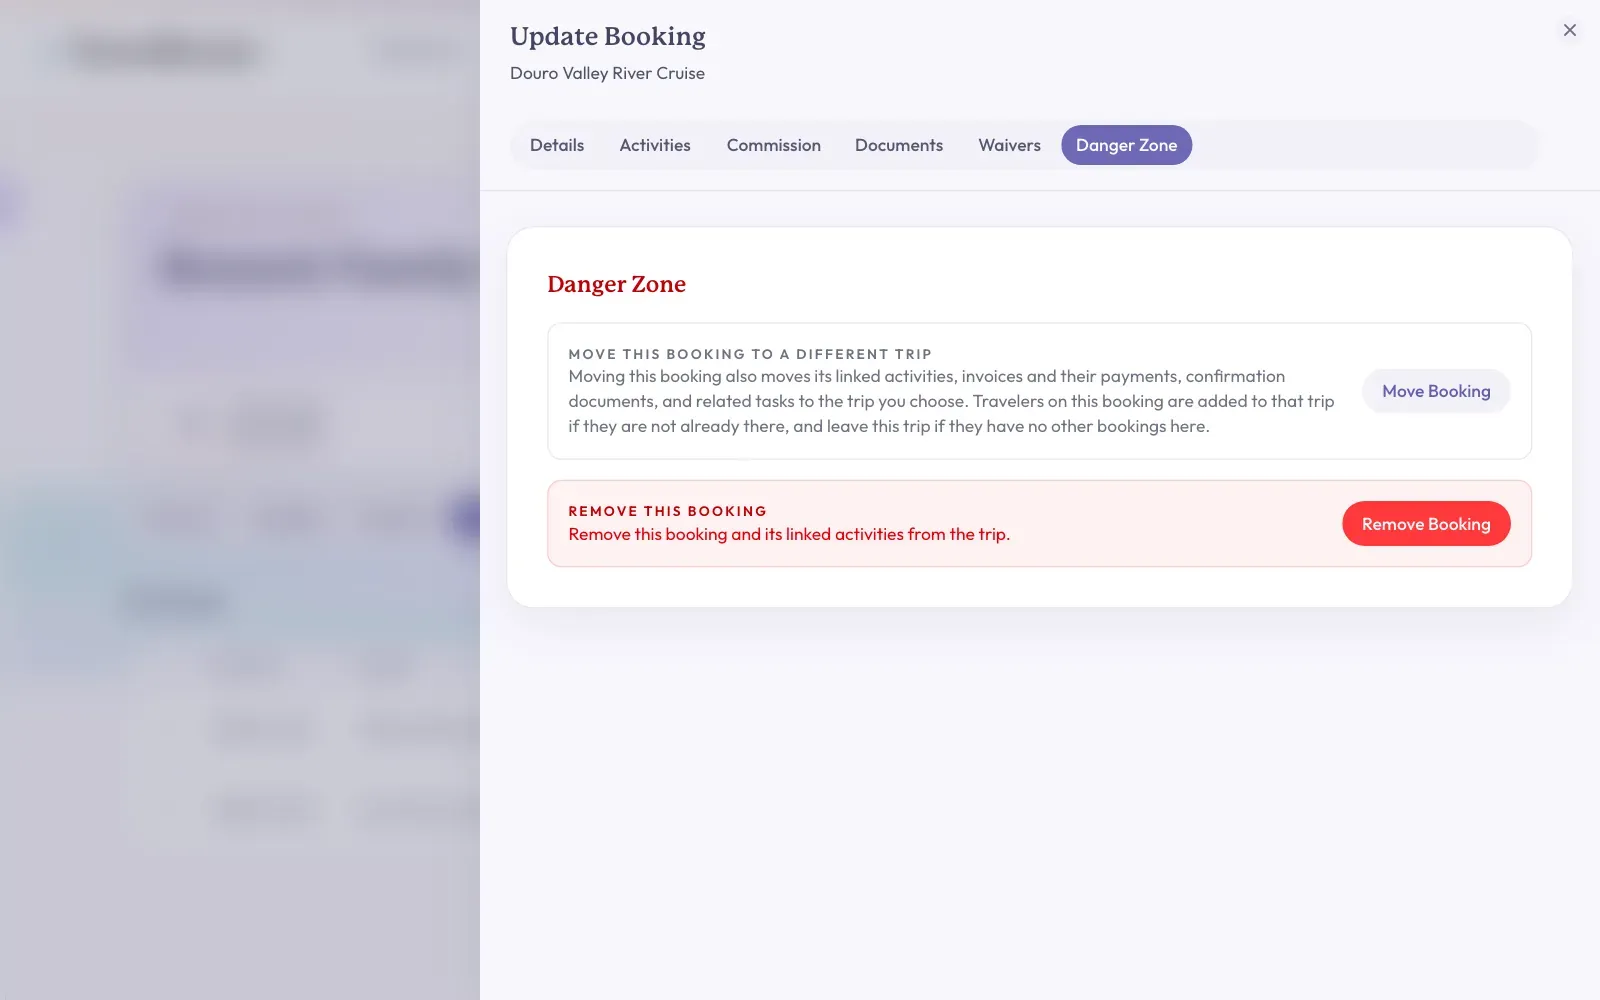
Open Update Booking and click the Danger Zone tab.
-
Click Move Booking.
-
A panel opens. Click Select A Trip and choose the trip. To put it on a new trip instead, click Create A New Trip.
-
Click Continue at the bottom right of the panel.
The booking moves, along with its activities, invoices, documents, and related tasks. Its travelers are linked to the new trip if they are not on it already.
Remove A Booking
Removing is for a booking that should not be there at all, such as a mistake. If a client cancelled, please cancel the booking instead.
-
Open Update Booking and click the Danger Zone tab.
-
Click Remove Booking in the red box.
-
A window asks if you are sure. Click Remove Booking again.
You will see a short message that says "Booking removed". Its linked activities are removed too.
Careful: This cannot be undone.
Stuck? Is Remove Booking grayed out? The travel date has passed. Only an agency owner or admin can remove a booking after travel. Please ask them for help.